
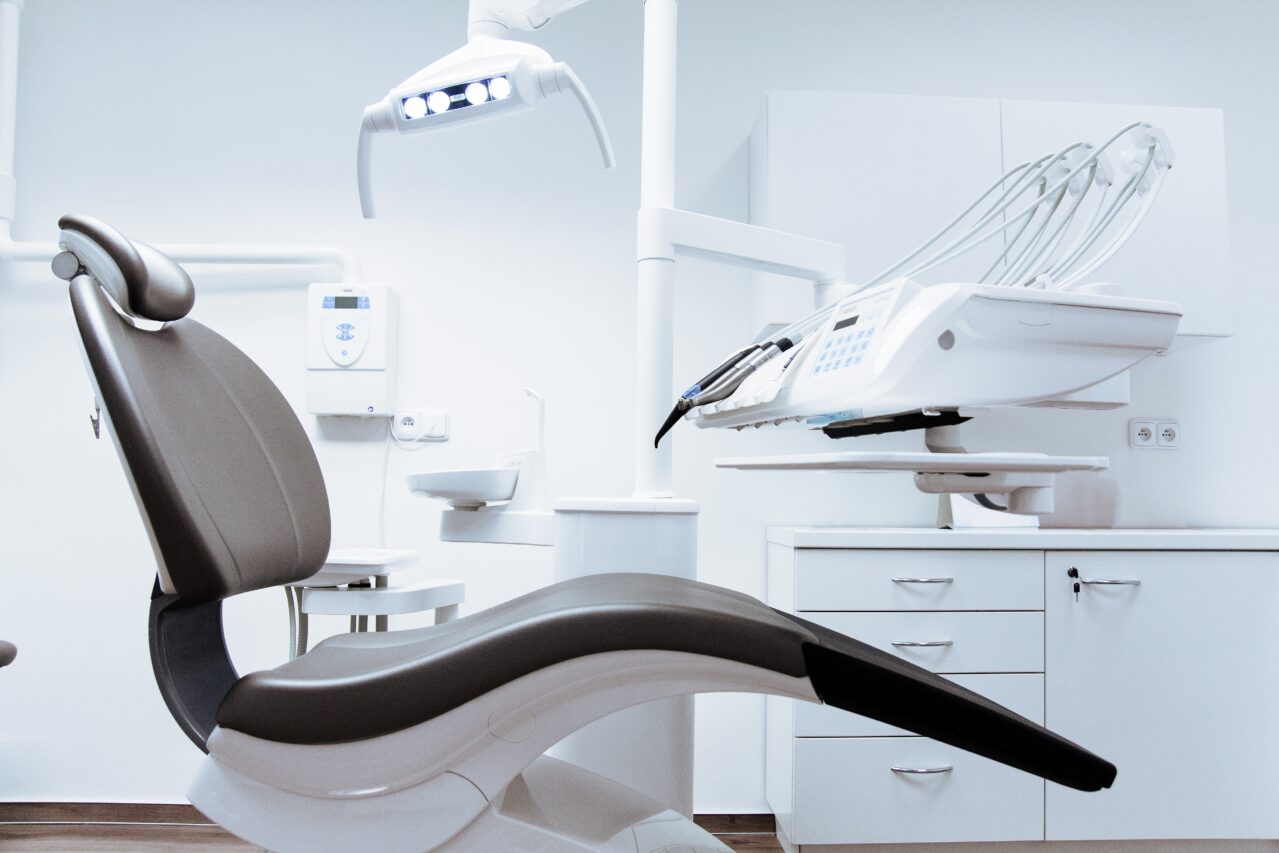


Moving medical equipment calls for precision, care, and strong planning. These items often carry high value and serve an essential purpose in daily healthcare work. Because of that, small mistakes can cause major delays and costly repairs. A solid plan helps prevent damage, reduces stress on staff, and keeps the process under control. Here, we will show you how to move medical equipment with ease and to handle the move with confidence and steady flow! In case you need help to find the right moving team to help you, Verified Movers is at your service!
Start With a Complete Equipment List
Clear planning begins with a detailed list that keeps every step under control. Write down each item you plan to move. Add model numbers, weight, and dimensions. These details help you understand the full scope of the task and choose the right support for transport. This list also guides you through the packing phase because you know exactly what needs special care.
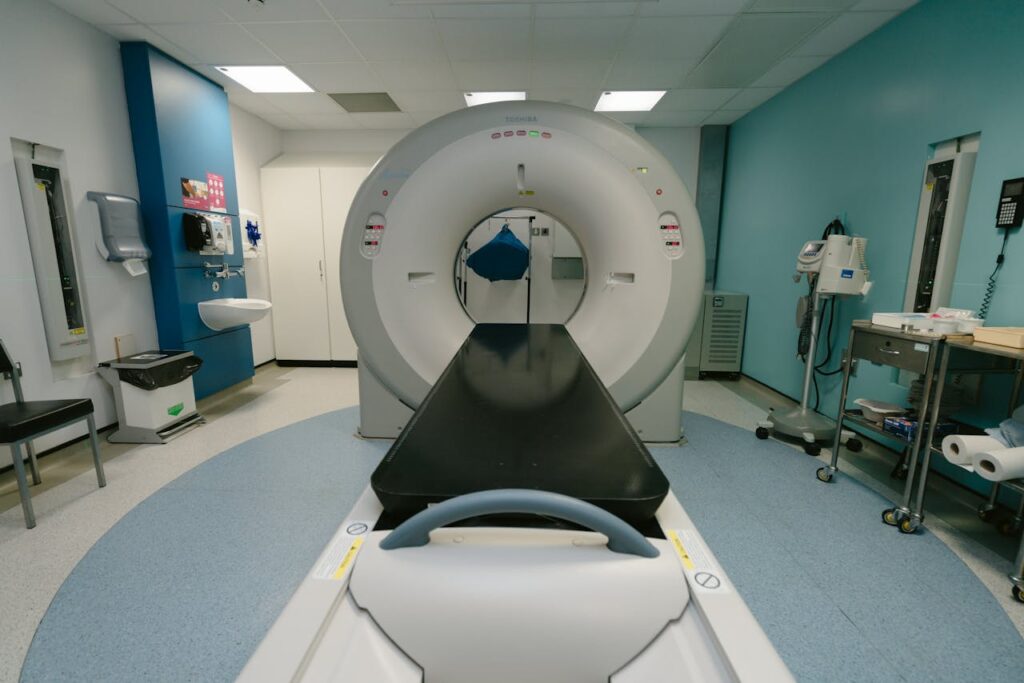
Then, check which devices need power-down steps. Some machines require a set order during shutoff. Others need locked parts or drained sections before movement. Collect these steps early and place them in a simple folder or digital file for quick access. Next, review equipment that contains fluids, sharp parts, or fragile pieces. These items need solid protection and clear labeling. This early review prevents surprises, protects the devices, and helps you prepare the right crates or containers. Once your list feels complete, share it with the person leading the move. This keeps planning clean and removes confusion later. Many facilities in Maryland follow this structure because it supports clear organization during complex projects. If you need extra help, Maryland movers can guide you through safe handling and secure transport for sensitive equipment.
Assign a Small Internal Team
A focused internal group keeps the entire plan steady and under control. Each person plays a clear part, which removes confusion and keeps the process successful. Choose people who know the devices well and who handle clear communication with ease. Their understanding supports fast decisions and reduces delays during busy stages of the project. Start with simple role assignments. One person handles packing steps. Another tracks every document and keeps instructions organized. A third person follows the order of items so the heaviest pieces move first. This structure creates rhythm and helps the team stay aligned from start to finish. Meet before the moving day and review every step in detail.
Build a checklist that covers power-down routines, packing needs, and route planning. Talk through possible issues and agree on quick solutions. These small steps strengthen control and help you avoid last-minute tension. Use this meeting to confirm who gives instructions, who answers questions, and who updates the schedule. Clear roles bring steady flow during each phase. This structure helps when you need to move medical equipment because it reduces errors and supports safe handling. A well-built internal team guides the project with confidence and keeps every stage organized without pressure.
Study Manufacturer Instructions
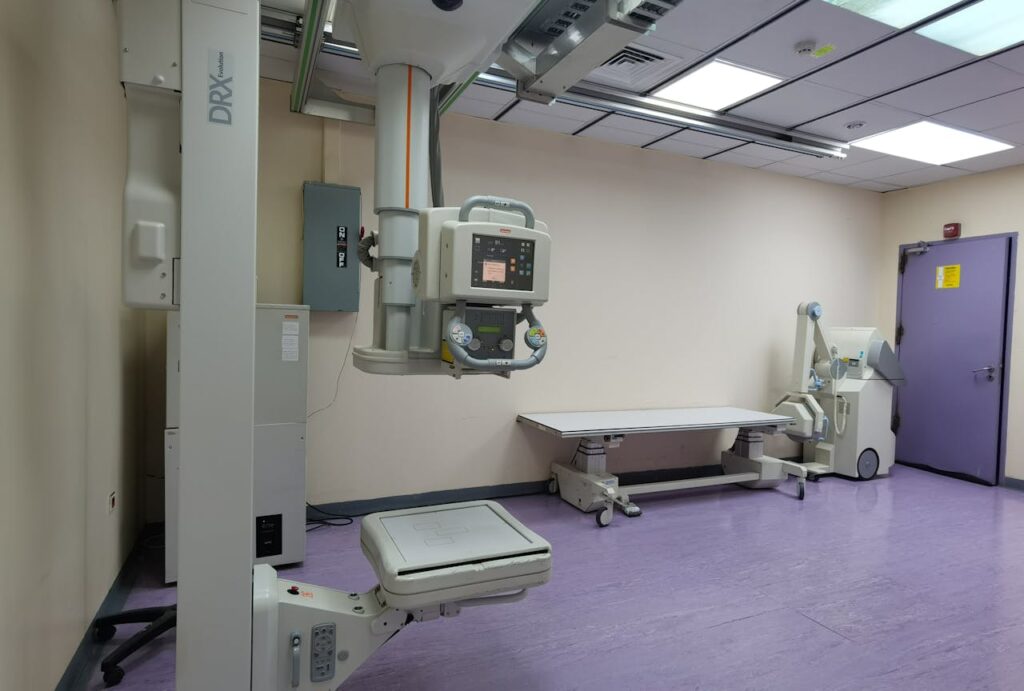
Each device comes with its own handling rules, so you should study those details early. These instructions guide you through shutoff steps, cooling time, and safe positions during movement. Clear knowledge at this stage protects sensitive parts and keeps the process under control. Some machines need locked panels before transport. Others require drained lines or disconnected water and gas connections. Certain imaging devices must stay upright through every step because even a small tilt can affect internal balance. These rules serve a direct purpose, so respect each one and plan your route around them.
Gather all manuals and technical sheets in one place. Use a small binder or a simple digital folder that stays open during the entire move. Keep the location clear so anyone on the project can reach the information fast. This saves time and keeps the handling consistent. Your movers can check the folder when questions come up, and your staff can follow the same steps without confusion. Study the instructions long before the moving day so you have time to prepare supplies and correct tools. This early effort prevents damage and supports a safe setup in the new space.

Choose the Right Moving Partner to Move Medical Equipment With Ease
A project that involves medical devices needs a partner with real skill and steady control. Heavy machines, sharp tools, and delicate systems demand firm handling and correct support equipment. Your moving partner should understand how each item behaves during lifting and transport. They should know how weight shifts, how fragile parts respond to movement, and how to keep the load stable from start to finish. Clean trucks, secure straps, and strong insurance coverage protect your investment during every stage of the project. These basics matter, so review them before you make any choice.
Reach out to several companies, get moving quotes and compare their answers. Ask about past work, ask how they handle heavy loads, and ask what tools they rely on. Direct questions help you understand their level of experience and their approach. A strong partner explains each step clearly and gives straight answers when you ask about risk, timing, or equipment needs. This simple conversation helps you see who can support the project with confidence.
After you decide, share your full equipment list and all instructions. Provide your schedule and your expectations. Clear communication builds a steady partnership. When both sides follow the same plan, the move stays controlled, simple, and safe. A reliable partner keeps your equipment protected and supports you through each phase. You can also think about renting a moving truck to do it yourself, but hiring professionals is always the best option!
Prepare Each Room Before Moving Day
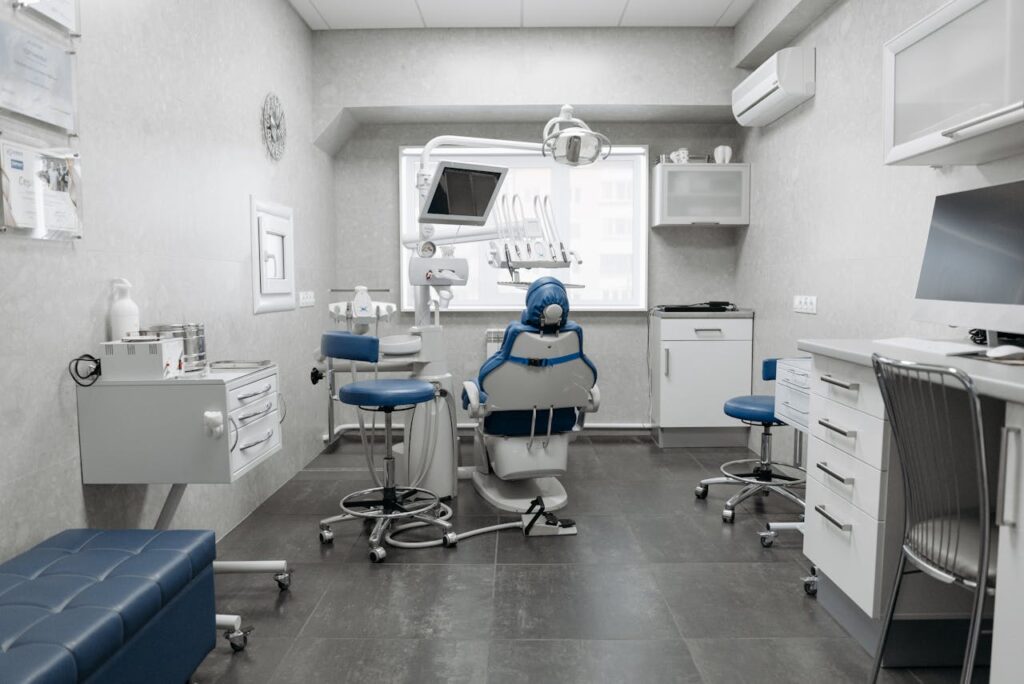
Strong room preparation shapes a safe and steady process once the move begins. A clean layout supports each stage and removes pressure from the team handling the equipment. Start with a full walkthrough and focus on opening clear paths for large items. Then review the structure of the building so every machine fits through each point without delays.
- Use the steps below to keep the space ready:
- Clear hallways and remove anything that blocks movement.
- Shift small furniture to the side to widen the route.
- Remove clutter that creates tight turns or narrow corners.
- Take down wall items that sit close to doorframes.
- Measure doors, hallways, and elevators to confirm safe clearance.
- Compare the measurements with the size of your largest machines.
- Mark paths with tape or signs to guide packing and loading.
- Create zones for staging, holding, and final placement.
- Keep floors clean so carts and dollies move without trouble.
- Review each zone once more to confirm that the flow stays open.
Share the moving schedule early so staff can prepare their work areas and remove personal items. Early notice reduces tension and prevents last-minute issues. With clean paths, clear zones, and strong planning, you can move medical equipment with confidence and maintain control throughout the process.
Pack With Care and Correct Materials
Strong protection keeps your equipment safe during every stage of the move. Start with clean, sturdy packing materials that support each device. Use padded crates for heavy or delicate items. Add foam inserts that hold the device firmly in place. Choose thick boxes for smaller tools and wrap each screen or surface with soft padding. Secure all cables with gentle straps so they stay organized and free from bends or sharp twists. These small steps protect sensitive parts and reduce the risk of damage.
Label each item with color-coded tags. Assign a color to each destination room and place matching tags on the crates and boxes. This simple method creates clear order and helps you understand where each piece belongs. Your movers also benefit because the labels guide them through the final placement without confusion or repeated questions. Store manuals, cords, screws, and accessories in small bags and attach them to the equipment or its crate. This keeps everything in one place and supports a smooth setup after arrival. It also prevents expensive delays caused by missing parts.
Before sealing each box or crate, perform a quick check. Confirm that padding sits in the correct position and that cables stay secured. Seal the container firmly and move it to your staging zone. Keep this area clean and organized so the packing flow stays steady. This simple approach saves time, reduces stress, and keeps your equipment ready for safe loading. Strong packing habits create a successful path through the next steps of the move.

Handle Heavy Equipment With the Correct Tools
Heavy devices demand strong tools that support safe lifting and steady control. Use dollies, sliders, lift gates, and wide straps built for high-weight loads. These tools protect the equipment and reduce strain on the people guiding each move. Keep movements slow and controlled so every shift stays predictable. Short cues help the team stay aligned. Simple signals keep everyone aware of each step and prevent sudden changes that could harm sensitive parts.
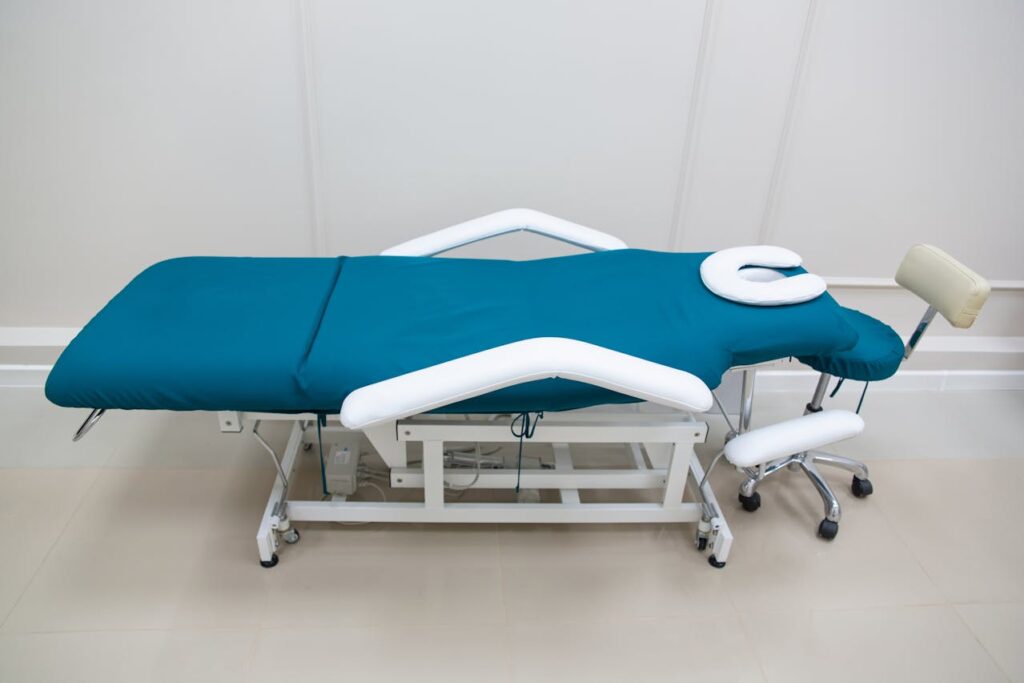
Large imaging machines, dental chairs, lab devices, and exam tables each require different methods to prevent damages after the move. A person who knows how to move medical equipment understands weight balance, tilt limits, and correct lifting angles. Trust that guidance because each adjustment protects the internal structure of the device and keeps the process stable. Maintain open paths during lifting. Tight corners create pressure and force extra turns that raise the risk of damage. Clean hallways make it easier to guide heavy devices through the building without sudden stops. Clear staging zones also help the team avoid crowding as the items move toward the exit.
Many facilities in Texas face long distances between rooms and loading points, so strong tools and steady planning matter even more during local medical moves. If you need trained help in that region, Texas movers can support the lifting stage with correct equipment and controlled movement. Their experience reduces strain on the devices and supports a safe route from the building to the truck.
Load the Truck With a Clear Sequence
Clear order inside the truck protects every item and keeps the entire move under control. Start with the heaviest machines when loading a moving truck, because they create the base for the rest of the load. Place them against the front wall where they stay steady during turns and stops. Secure each one with strong straps so the weight stays fixed. Set lighter devices on padded shelves or stable platforms. This structure prevents pressure on fragile parts and keeps each section balanced. Separate delicate tools from large machines. Keep monitors, scanners, and small lab devices far from equipment that might shift during transport. Use padded barriers to keep fragile items safe from bumps. These details matter when you move medical equipment because even small impacts can affect internal parts.
Keep the walkway inside the truck open so the crew can move medical equipment easy, adjust straps, and load additional items without stress. A clean path reduces mistakes and keeps the pace steady. Review the layout before adding the next group of crates or boxes.
Some facilities in Washington deal with steep roads and sharp curves, so strong order inside the truck becomes even more important during long drives. After the load is complete, perform a final strap check. Tight, secure straps keep the equipment steady even on rough pavement. If the project connects to a larger relocation, such as moving to Washington for new medical space, this clear loading plan protects your devices from start to finish and supports an easy setup at the new location.
Transport With Steady Timing
Timing plays a direct role in keeping the move calm and controlled. Start by choosing a quiet day with stable weather so the road conditions support safe driving. Check forecasts and adjust the schedule if storms or strong winds create risk. Plan your route with care and avoid roads that bring heavy traffic, sharp curves, or steep climbs. These small choices protect the equipment once the truck begins to move.
Stay in steady contact with the driver during transport. Quick updates help you prepare the unloading area and keep the timing on track. This communication also supports an easy handoff when the truck reaches the new location. Ask the driver to maintain moderate speeds. Sudden stops or tight turns create pressure on the equipment and raise the chance of shifting. Clear instructions help the driver stay aware of the load and adjust driving habits when needed.
Prepare your unloading zone in advance. Clear the space, remove obstacles, and confirm that the route from the truck to the final rooms stays open. When the truck arrives, your team can begin right away. This reduces delays, prevents rushed steps, and supports a controlled finish to the transport stage.

Move Medical Equipment With Confidence!
You strengthen every part of the project when you prepare early and guide each stage with steady control. Strong packing, clean routes, and good timing protect every device during the move. These steps also help you solve small issues before they spread. With a simple plan, you can move medical equipment without pressure or confusion. Each task supports the next one and keeps the workflow smooth from the first day of planning to the final setup in the new space.