
Welcome to our comprehensive guide on hanging pictures in your new home! Moving into a new space is an exciting endeavor, and properly hanging pictures can greatly enhance the aesthetics of your home while protecting your walls. In this article, we will walk you through the dos and don’ts of hanging pictures, providing you with valuable tips and insights to ensure successful and visually pleasing displays in every room. For any other questions about settling in, consider visiting the Verified Movers website. We will ensure your relocation is efficient and your settling-in process is smooth.
The Dos of Hanging Pictures
It might seem that there really aren’t wrong ways to hang your pictures and that everything is a do. However, there are some tips that really make a difference. See what you should do when putting pictures on the walls.

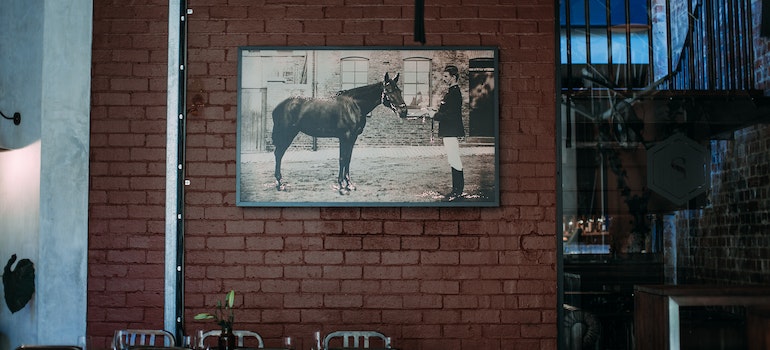
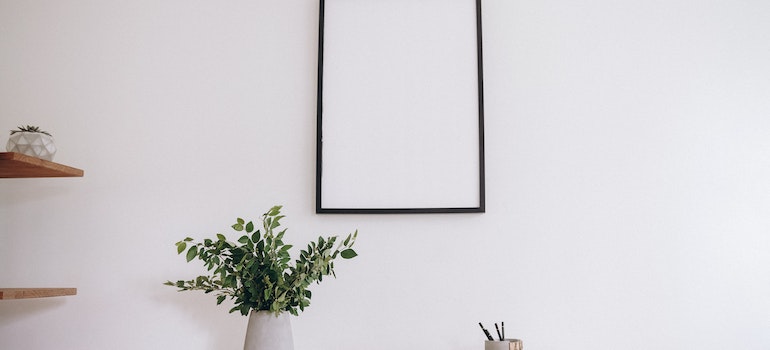
Finding the right placement
When it comes to hanging pictures in your new home, selecting the appropriate wall and location is crucial. Consider the following factors to find the perfect placement for each picture:
- Size, style, and weight: Take into account the size, style, and weight of the picture in relation to the wall space. Larger pictures can serve as focal points, while smaller ones can be grouped together for a cohesive arrangement. You will see that these small tips can make your new place feel like home.
- Balance and visual appeal: Aim for a balanced and visually appealing arrangement by spacing your pictures evenly. Experiment with different layouts to find the most pleasing composition.
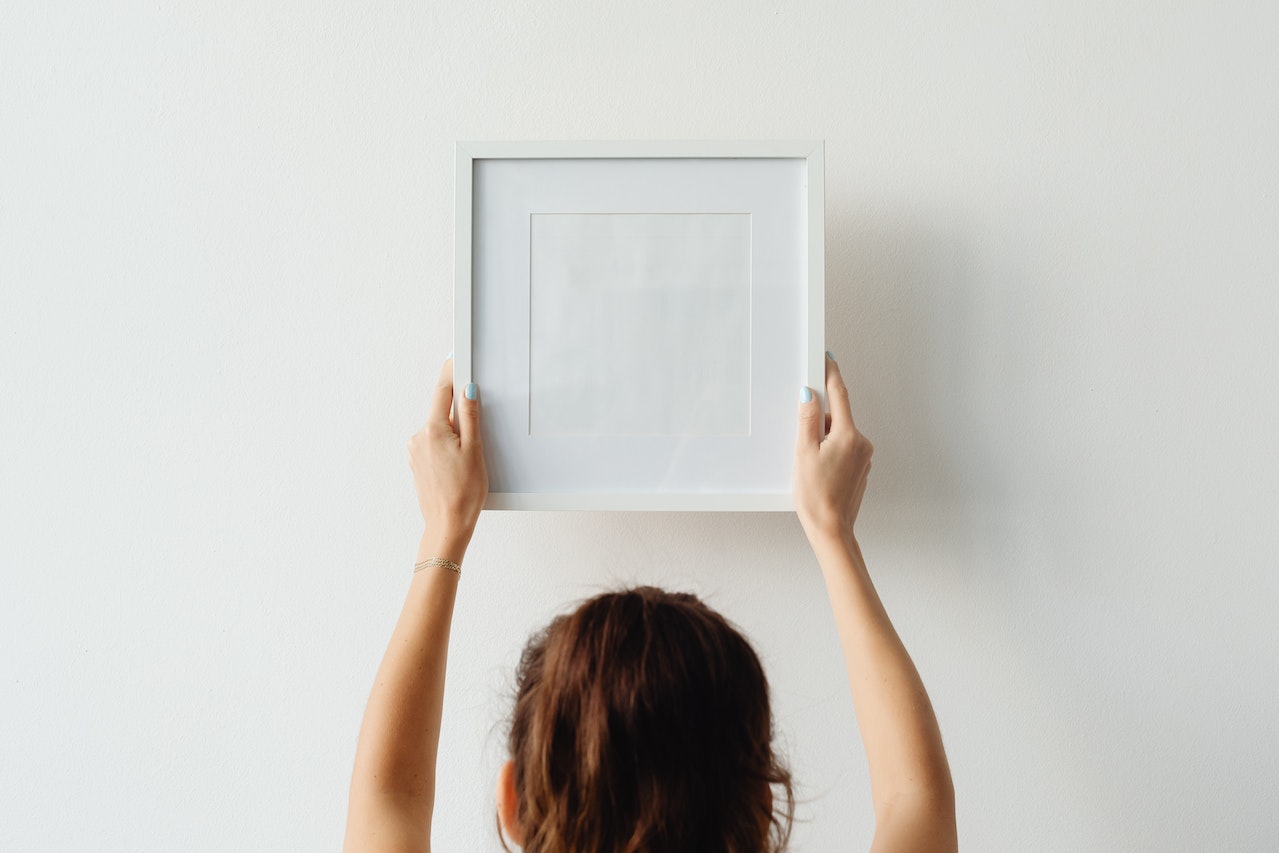
Measuring and leveling
Proper measurement and leveling are key to achieving a polished look for your picture displays. Use some of your must-have tools for DIY home repairs and follow these steps for accurate results. Before hanging your picture, it’s crucial first to measure the wall space and mark the desired placement using a pencil or tape. This preliminary step will assist you in visualizing the arrangement and allow you to make necessary adjustments. T
o ensure your pictures are straight and aligned, incorporate the use of a level in your process. By placing it on top of the picture frame and adjusting it as needed until the bubble is centered, you can achieve the perfect alignment. For enhanced precision, consider the use of measuring tools like a tape measure or laser level. These tools can provide accurate measurements and help in maintaining straight lines, ensuring a seamless and professional appearance for your displayed pictures.
Choosing the right hanging hardware
Selecting the appropriate hanging hardware is essential for secure and stable picture installations. First, consider types of hanging hardware. There are various options available, including nails, screws, or adhesive hooks. Choose the hardware that is suitable for the weight and type of picture you are hanging. Also, follow the manufacturer’s instructions for each type of hanging hardware to ensure proper installation. This will help prevent damage to your walls and ensure the longevity of your picture displays.
The Don’ts of Hanging Pictures
While knowing what to do is important, it’s equally crucial to be aware of the common pitfalls to avoid when hanging pictures in your new home. Read more and find out what are the don’ts of hanging pictures.
Overloading walls
Hanging too many pictures on a single wall can lead to potential damage and instability. Keep the following in mind:
- Weight distribution: Distribute the weight of your pictures evenly across different walls to prevent overloading and strain. This will help maintain the structural integrity of your walls.
- Wall capacity: Consider the capacity of your walls to support pictures, especially if you have delicate or heavy artwork. If in doubt, consult a professional to ensure the safety of your wall hangings.
Using incorrect hanging techniques
Using improper hanging techniques can result in falling pictures or damaged walls. Avoid using the wrong type of hardware, such as using nails when screws are needed, because it can lead to unstable installations. Always choose the appropriate hardware for the weight and type of picture. Also, insufficient support, such as using a single nail for a heavy picture, can cause it to fall and potentially damage your walls. Use appropriate hardware and follow best practices to ensure proper support.
Hanging pictures in high humidity or direct sunlight
Certain environments can be detrimental to the condition and longevity of your pictures. Avoid hanging pictures in areas with high humidity, such as bathrooms or kitchens, as excessive moisture can damage the artwork or cause warping. Opt for humidity-controlled spaces or consider using protective glass or acrylic frames. Additionally, prolonged exposure to direct sunlight can fade and damage artwork over time. If possible, choose walls that are not directly exposed to sunlight or use UV-protective glass or acrylic frames to preserve the colors and integrity of your pictures.
Neglecting wall preparation
Proper wall preparation is often overlooked but plays a significant role in achieving a successful picture-hanging display. Ensure that your walls are clean, smooth, and free from dust, dirt, and imperfections before hanging pictures. Repair any cracks or holes and consider giving the wall a fresh coat of paint if necessary. Also, take your time when preparing the wall and measuring the placement of your pictures. Rushing through these steps can result in uneven or misaligned displays. Plus, taking your time will help you to organize your new home better.
Neglecting safety precautions
Lastly, it’s important to prioritize safety when hanging pictures to avoid accidents or injuries. When reaching higher walls, always use a sturdy ladder or step stool that provides a stable platform. Avoid standing on furniture or other unstable objects. Also, always secure electrical cords. Make sure they are not obstructing the picture installation. Finally, if you have young children, consider their safety by avoiding hanging pictures within their reach. Securely mount heavy or fragile artwork to prevent accidents.
With These Dos and Don’Ts, You’ll Be Hanging Pictures in Your New Home Like a Pro
Hanging pictures in your new home can be a fun and creative way to personalize your space. By following the dos and don’ts outlined in this guide, you’ll ensure that your pictures are securely and beautifully displayed while protecting your walls. Remember to consider factors such as placement, measurement, hanging hardware, and wall preparation to achieve the best results. Enjoy the process, and let your pictures add warmth and personality to your new home!